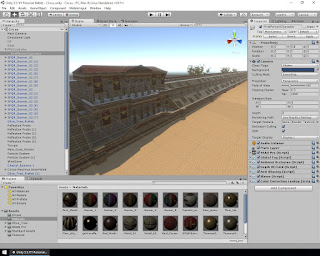
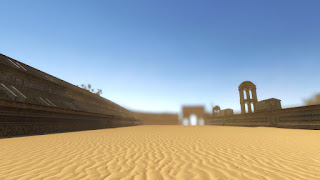
I started enabling High Dynamic Range (HDR) and I used Unity's standard assets pack with image effects to get my screen space ambient occlusion to bring out the creases, antialising to smooth all the sharp and harsh edges, depth of field to create a more realistic overview from the player's perspective and so on.


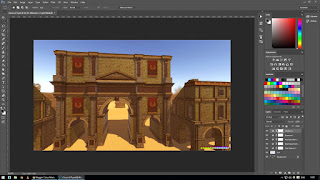
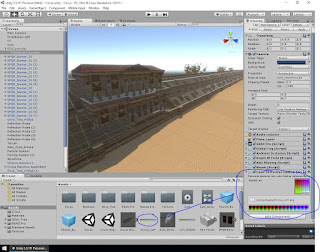
The global fog helped enforcing the dusty effect even more, and after that I did some colour correction in a very new way. I put a colour correction component on the camera and then took a screenshot of the game view, put it in Photoshop, did all my exposure, brightness, saturation and all the parameters I needed to tweak, and used it as an LUT ( Look Up Texture ) that stored all the colour information and brought it back in Unity. It changed the look drastically.


After I exported the build to test it out, I thought that I should also do a camera fly through animation to combine it with a gameplay footage as that will be a nice transition between clips. So I just started again in Unity, this time, disabling the FPS camera and enabling main camera with same post process effects so I can maintain the same level of quality.

Now all that is left is to create renders and record some video and go into Adobe Premiere to edit and blend all the clips together so I have a nice presentation reel of the circus, and I am nearly done.
References
ConnorDuke - Game
Development Tuts!, 2015. How To: Color Grading In Unity 5! - YouTube. [Online]
Available at: https://www.youtube.com/watch?v=iAnjIkmvwms
[Accessed 30 April 2017].
Available at: https://www.youtube.com/watch?v=iAnjIkmvwms
[Accessed 30 April 2017].
Unity Technologies, 2013. Unity - Color Correction Lookup
Texture. [Online]
Available at: https://docs.unity3d.com/432/Documentation/Components/script-ColorCorrectionLut.html
[Accessed 30 April 2017].
Available at: https://docs.unity3d.com/432/Documentation/Components/script-ColorCorrectionLut.html
[Accessed 30 April 2017].
No comments:
Post a Comment